Salt Cell Replacement: Top Mistakes to Avoid for Better Pool Performance
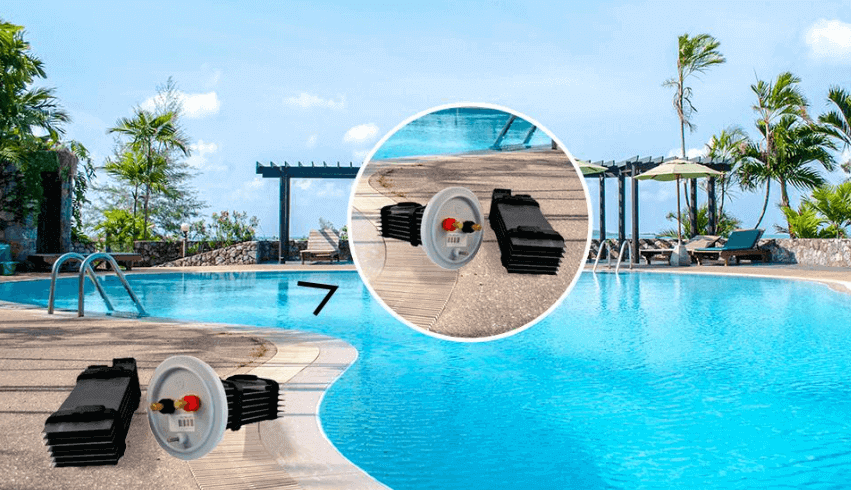
A saltwater pool offers a refreshing swimming experience and is easier to maintain compared to traditional chlorine pools. However, like any pool system, it needs regular care to perform efficiently. One of the most important parts of your saltwater system is the salt cell, which helps convert salt into chlorine to keep your pool clean and safe. Over time, this cell wears out and needs to be replaced.
When it comes to pool salt cell replacement, many pool owners make common mistakes that can lead to costly repairs, system inefficiencies, or reduced water quality. Knowing what to avoid can help you save money, extend your system’s life, and ensure your pool stays sparkling all year long.
This guide explains the key mistakes to avoid during salt cell replacement and how to handle the process correctly to maintain your pool’s performance.
Ignoring the Signs of a Failing Salt Cell
One of the most common mistakes is overlooking the early signs that your salt cell is no longer working properly. Many pool owners assume their water problems are caused by low salt or incorrect chemical levels, but sometimes, the salt cell is the real issue.
Here are signs that your salt cell may need replacement:
- Cloudy or greenish water even after proper chemical balancing
- Low chlorine readings despite normal salt levels
- A “Check Cell” or “Service” light on your chlorinator
- Visible calcium buildup on the cell plates
If you notice these problems, it’s time to inspect or replace the salt cell before it affects the rest of your pool system.
Choosing the Wrong Pool Salt Cell Replacement
Every chlorinator system is designed to work with specific types of salt cells. Installing the wrong cell can cause system failure or poor water quality. Before buying a replacement, always check:
- Compatibility: Ensure the cell model matches your existing chlorinator brand and type.
- Capacity: The new cell should handle your pool’s water volume. A smaller cell may not produce enough chlorine, while an oversized one might be inefficient.
- Connection Type: Some cells use plug-and-play connections, while others need specific fittings.
If you’re unsure, read your chlorinator’s manual or consult an expert before purchasing. The wrong choice could cost more in the long run.
Delaying Salt Cell Cleaning Needs
Replacing the salt cell doesn’t mean it’s maintenance-free. Regular cleaning helps prevent calcium buildup that can block the plates and reduce chlorine output.
After installing your new salt cell, clean it every few months using these steps:
- Turn off the power to the chlorinator.
- Remove the cell and inspect it for any scale buildup.
- Soak it in a mild acid solution (one part acid to ten parts water) for a few minutes.
- Rinse it thoroughly before reinstalling.
Avoid scrubbing the plates with sharp objects, as this can damage the coating and shorten its lifespan.
Skipping the Salt Level Check
After installing a new salt cell, many pool owners forget to check the pool’s salt level. A new cell requires the correct salt concentration to work efficiently. Too much salt can cause corrosion, while too little can reduce chlorine production.
Most chlorinator systems perform best at a salt level of 3,000–3,500 ppm (parts per million). Always use a reliable salt test kit or your chlorinator’s digital reader to monitor salt levels regularly. Maintaining this balance ensures your new cell lasts longer and performs at its best.

Not Resetting the Control Unit
Another mistake during pool salt cell replacement is forgetting to reset the chlorinator’s control unit after installing the new cell. Many modern systems track the lifespan and performance of the cell, and not resetting the system can lead to incorrect readings or malfunctioning alerts.
To reset the system:
- Follow the manufacturer’s instructions provided with your chlorinator.
- Reboot or recalibrate the control panel to recognise the new cell.
- Check that chlorine production resumes normally within a few hours.
Failing to reset the system may result in “false alarms” that your cell isn’t working properly, even if it’s new.
Not Consulting a Professional
While many pool owners prefer DIY replacements, consulting a professional ensures the job is done right. A qualified technician or a pool builder in Albury can help identify the correct replacement model, inspect your chlorinator, and ensure proper installation. This not only prevents mistakes but also helps maintain your pool warranty and safety standards. If you’re replacing a salt cell for the first time, professional guidance can save you time, effort, and unnecessary expenses.
Conclusion
Replacing a salt cell may seem simple, but avoiding these common mistakes can make all the difference in maintaining a clean and healthy pool. From choosing the right replacement to balancing your water and checking your system settings, every step contributes to the long-term performance of your saltwater setup.
Take time to understand how your system works, and never rush through the replacement process. A careful approach ensures your pool remains sparkling, efficient, and enjoyable all year round.